Abstract
Replacing sanding sleeves is a fundamental maintenance task in woodworking, metal fabrication, and precision finishing. The efficiency of this process directly impacts surface quality and operational productivity.
According to WOOD Magazine, sanding sleeves gradually lose their cutting performance due to abrasive wear and clogging, so they need to be replaced in time to maintain optimal results. Meanwhile, research on abrasive wear mechanisms (Bundscherer et al., 2022) reveals that degraded abrasives can greatly diminish the efficiency and consistency of machining processes.
This article provides a comprehensive, industry-level explanation of the sanding sleeve replacement process, along with expert techniques and best practices to ensure improved performance, safety, and tool longevity in professional applications.
What Are Sanding Sleeves?
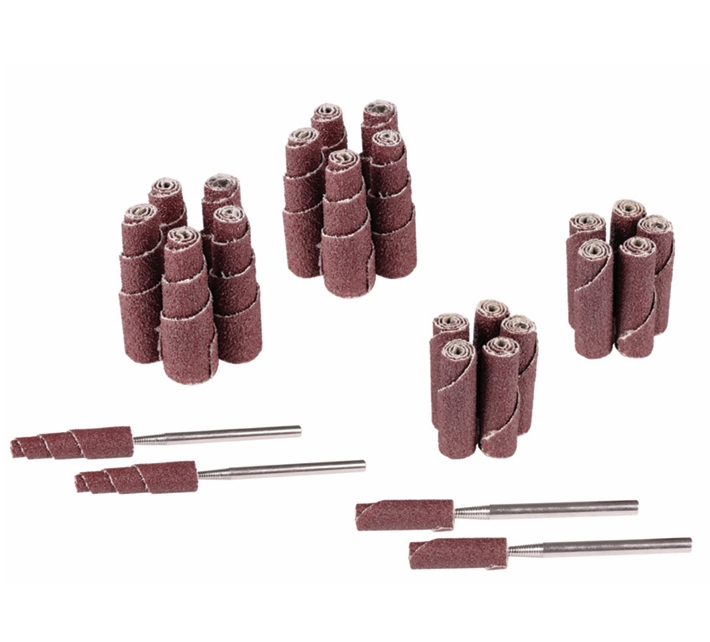
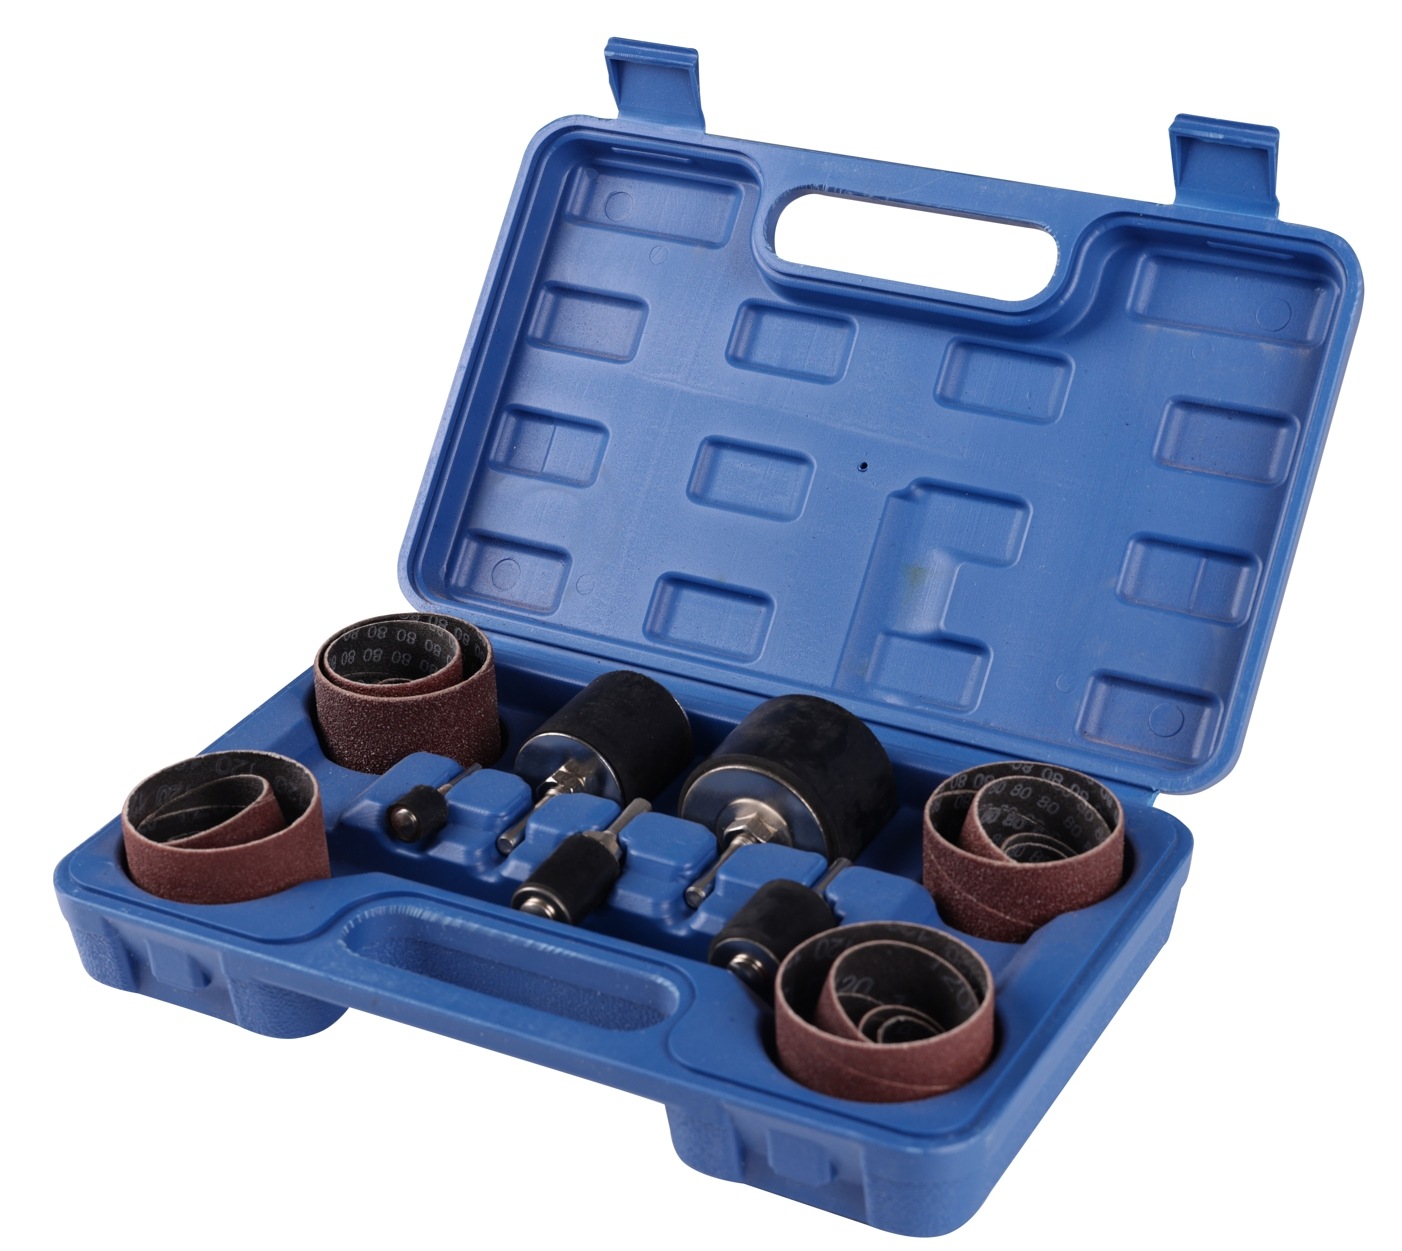
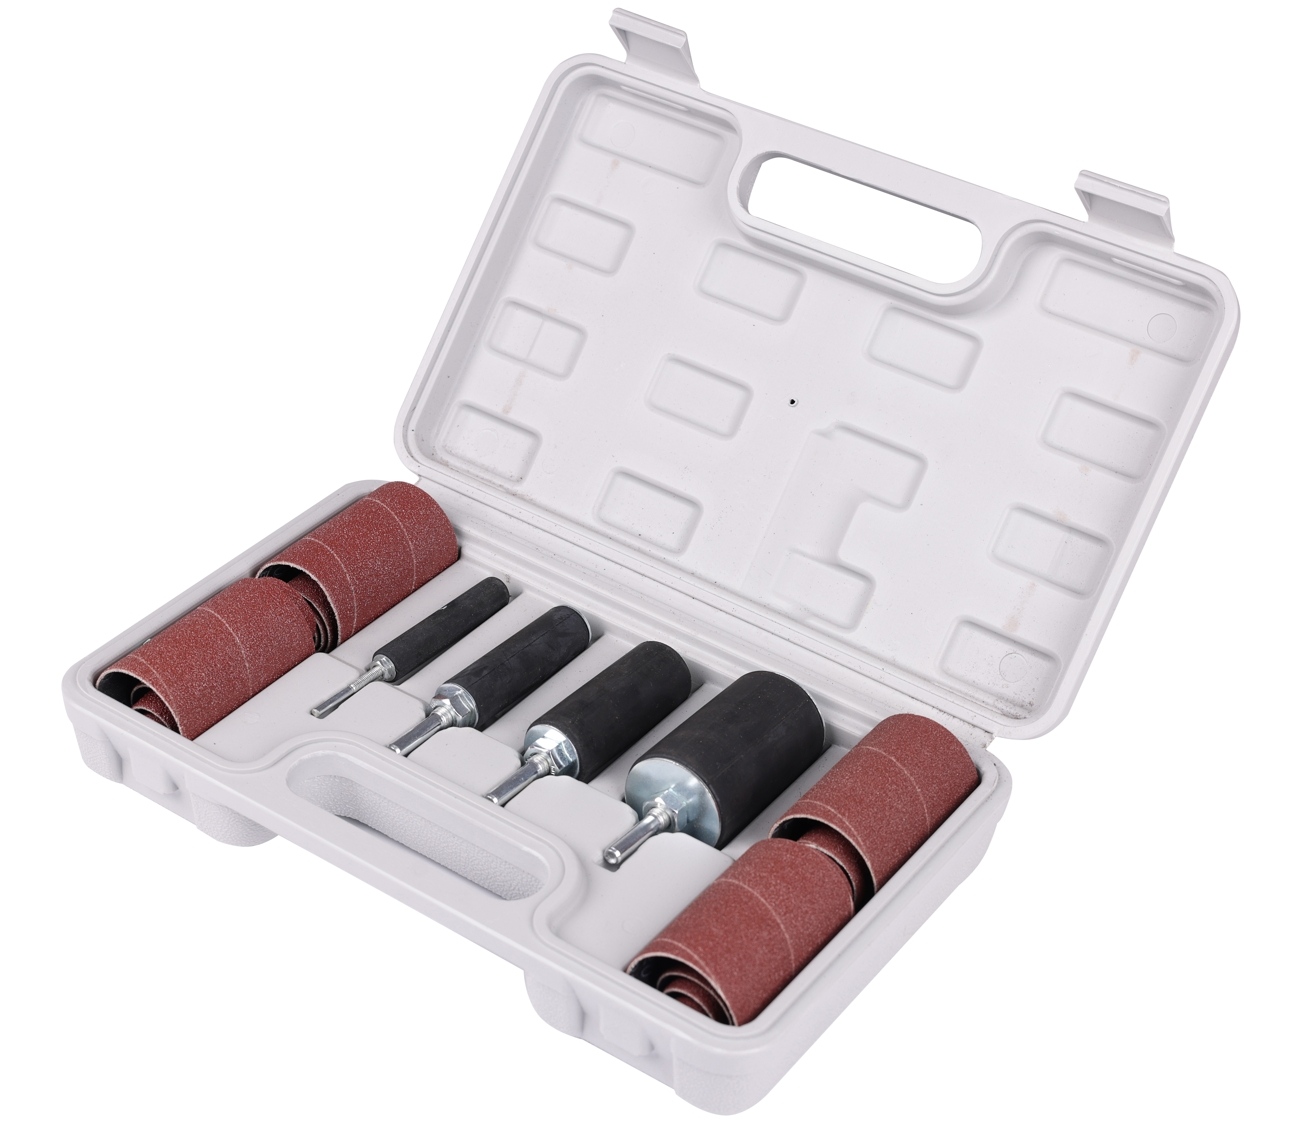
Sanding sleeves are cylindrical abrasive tools designed to fit over rubber drums or spindle sanders. Typically made from cloth or paper-backed abrasive materials, such as aluminium oxide or zirconia, they are flexible and durable, making them ideal for contour sanding and finishing internal surfaces.
They are widely used for:
- Woodworking (curves, edges, and contours)
- Metal finishing (deburring and polishing)
- Plastic and composite processing
- Precision hole shaping and smoothing
Structurally, sanding sleeves rely on expansion pressure from a rubber drum. When the drum is tightened, it expands outwards, holding the sleeve securely in place during operation.

Step-by-Step Process for Replacing a Sanding Sleeve
- Power off and ensure safety
Always disconnect the machine from its power source before starting. This applies to spindle sanders, drill presses, and handheld tools.
It is highly recommended that you wear protective gloves and safety glasses, as worn sanding sleeves may contain sharp abrasive fragments or accumulated debris.
- Remove the Sanding Drum (If Necessary)
| Tool Type | Drum Removal Required | Notes |
| Oscillating spindle sander | Usually no | The sleeve can often be replaced directly |
| Drill press drum sander | Yes | Remove the chuck-mounted drum |
| Handheld drum sander | Yes | Detach the attachment from the tool |
In some machines, the sanding sleeve can be replaced without removing the drum, while others require disassembly for proper access.
- Loosen the expansion mechanism.
Most sanding drums use a top-mounted bolt or nut to control expansion.
Turn the bolt anticlockwise to reduce the internal pressure, which causes the rubber drum to contract and loosen the sleeve. Avoid excessive force, as overloosening may damage the internal structure or strip the threads.
- Remove the worn sanding sleeve
Carefully slide the old sanding sleeve off the drum.
If the sleeve is stuck due to resin buildup or heat expansion:
- Gently twist while pulling.
- Use compressed air to remove debris.
- Avoid cutting the sleeve unless necessary.
- Inspect the Rubber Drum
Before installing a new sleeve, inspect the drum condition:
| Inspection Item | What to Check | Action |
| Surface condition | Cracks, deformation | Replace the drum if damaged |
| Cleanliness | Dust, adhesive residue | Clean thoroughly |
| Elasticity | Proper expansion capability | Replace if hardened |
A damaged or hardened drum will reduce grip strength and cause sleeve slippage.
- Install the new sanding sleeve.
Select a sanding sleeve that matches the following criteria:
- Diameter
- Length
- Grit size (application-specific)
Then:
Slide the new sleeve evenly onto the drum and ensure proper alignment, with no tilting or uneven edges.
High-quality products, such as those from Hongcheng Abrasives, are recommended for their consistent grit distribution and longer lifespan.
- Tighten the expansion bolt.
Tighten the bolt clockwise until:
- The rubber drum has expanded
- The sanding sleeve is firmly secured
- Do not overtighten, as excessive pressure can:
- Damage the sleeve backing
- Causes uneven wear
- Reduce the tool’s lifespan
- Test before operation
Before resuming work:
- Rotate the drum manually.
- Check for wobbling or misalignment.
- Run the machine briefly at low speed.
This ensures the sleeve is properly installed and safe for use.
Choosing the Right Sanding Sleeve
Selecting the correct sanding sleeve is just as important as replacing it properly.
| Grit Size | Application | Result |
| 40–60 | Heavy material removal | Aggressive cutting |
| 80–120 | General sanding | Balanced performance |
| 150–240 | Fine finishing | Smooth surfaces |
| 320+ | Polishing | Ultrafine finish |
Additionally, consider:
- Abrasive type (aluminum oxide vs zirconia)
- Backing material (cloth vs paper)
- Workpiece material compatibility
Common Mistakes to Avoid
Sanding sleeves are essential abrasive tools for use with drum and spindle sanders. Using them incorrectly can result in reduced efficiency, poor surface quality, and a shorter lifespan.
- Using the wrong grit size:
- Too coarse: excessive material removal and a rough finish
- Too fine: inefficient sanding and a longer processing time
Always match the grit size to the application stage (roughing vs. finishing).
- Applying Excessive Pressure
Can cause overheating and premature wear, and can damage both the sanding sleeve and the workpiece. Let the abrasive do the work instead of forcing it.
- Ignoring material compatibility
Not all sleeves are suitable for:
- Wood
- Metal
- Plastics
Using the wrong type can lead to clogging or poor performance.
- Running at an incorrect speed
Too high a speed can cause overheating and faster wear, while too low a speed can result in inefficient sanding. Follow the manufacturer’s recommended RPM ranges.
- Skipping grit progression
Jumping from coarse to fine grit directly can result in uneven surfaces and visible scratches. Skipping grit progression
Jumping directly from coarse to fine grit
Results in uneven surfaces and visible scratches
- Poor installation
Loose or misaligned sleeves lead to vibration, uneven wear, and safety risks.
- Neglecting dust removal
Dust buildup reduces cutting efficiency and increases heat and clogging.

Maintenance Tips for Longer Sleeve Life
Proper maintenance can significantly improve the performance and extend the lifespan of sanding sleeves.
- Regular cleaning:
Use cleaning sticks or compressed air to remove dust and debris from the abrasive surface. This prevents clogging and maintains cutting efficiency.
- Proper storage:
Store in a dry, cool environment to avoid humidity and direct sunlight, as moisture can weaken adhesive bonds.
- Use appropriate pressure and technique
Maintain consistent, light pressure
Avoid aggressive sanding
- Monitor wear and replace promptly
Replace sleeves when:
- Abrasive grains are worn
- Surface becomes smooth or ineffective
- Do not wait for complete failure
- Match sleeve to application
Select the correct:
- Grit size
- Abrasive material (aluminium oxide, zirconia, etc.)
- Backing type
- Maintain equipment condition
- Ensure the sanding drum/spindle is properly aligned.
- Check for vibration or imbalance.
- Control the operating environment:
- Use proper dust extraction systems.
- Maintain a stable working temperature.
Industry Insights: Trends in Abrasive Technology (2026)
As part of coated abrasive systems, sanding sleeves are evolving to meet the broader industrial demand for precision finishing, automation, and efficiency.
- Growing Demand from Advanced Manufacturing
Growing demand from advanced manufacturing industries such as:
- Automotive
- Aerospace
- Electronics
require tight tolerances and high surface quality. This drives demand for high-performance abrasives, including sanding sleeves with consistent cutting ability.
- Expansion of the global abrasives market
The global abrasives market is expected to grow steadily alongside industrialisation and infrastructure development, reaching a value of over $50 billion by 2026. Sanding sleeves will benefit directly from this growth as essential finishing tools.
- Shift towards precision and process control
Manufacturers increasingly require:
- Consistent surface finish
- Repeatable performance
Abrasives are now designed for predictable wear and uniform cutting.
- Shift towards precision and process control
Manufacturers increasingly require:
- Consistent surface finish
- Repeatable performance
Abrasives are now designed for predictable wear and uniform cutting.
- Rise of DIY and light industrial applications
The rise of DIY and light industrial applications is driving demand for abrasives. Rise of DIY and light industrial applications
Growth in:
- Home improvement
- Small workshops
Demand for user-friendly sanding products is expanding.
FAQ: Sanding Sleeves
- How often should sanding sleeves be replaced?
Sanding sleeves should be replaced when cutting efficiency decreases, visible wear appears, or burning marks occur on the workpiece. Frequency depends on material type and usage intensity.
- Can I reuse sanding sleeves?
Generally, sanding sleeves are not designed for reuse once worn. However, cleaning can extend their usable life temporarily.
- Why does my sanding sleeve slip?
Common causes include:
- Worn or hardened rubber drum
- Incorrect sleeve size
- Insufficient tightening
- What grit sanding sleeve should I start with?
Start with a coarse grit (60–80) for shaping, then progress to finer grits (120–220+) for finishing.
- Are all sanding sleeves universal?
No. Sanding sleeves vary in diameter, length, and compatibility. Always match the sleeve to your specific machine and drum size.
Conclusion
Although replacing sanding sleeves is a simple process, it is critical for ensuring optimal sanding efficiency, surface quality, and equipment longevity. By following a structured replacement procedure and selecting and maintaining sleeves properly, users can significantly enhance their workflow and output quality.
Professionals seeking consistent performance and durability should choose reliable manufacturers such as Hongcheng Abrasives to ensure longterm value and superior finishing results.